
GOAL OF PART 1
By the end of this guide, you will have:
- one stable AI face
- 60–100 images of the same person
- ready dataset for training
- images prepared correctly (size, quality, structure)
🧩 TOOLS YOU WILL USE (NO ALTERNATIVES)
1) Image generation
Choose ONE:
Midjourney
https://www.midjourney.com
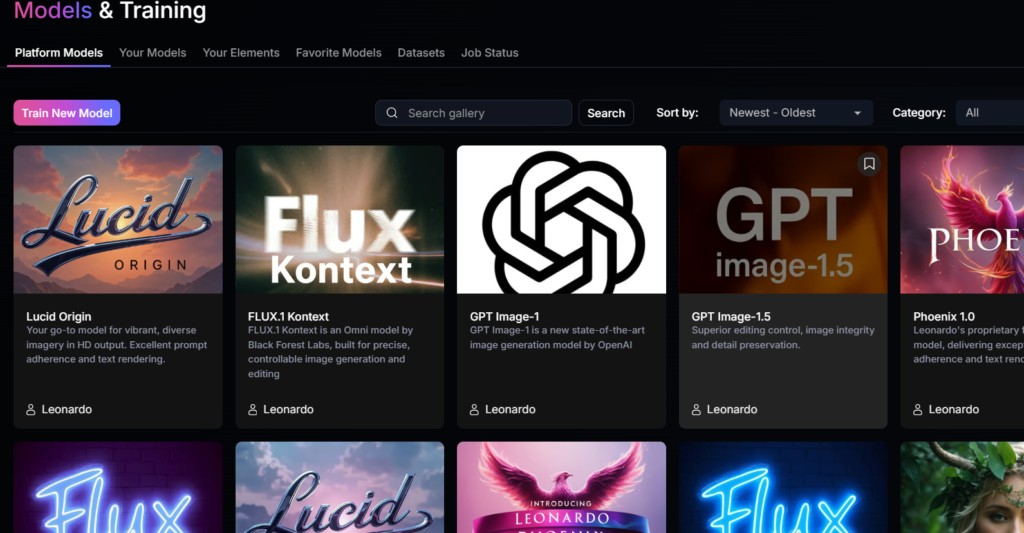
Leonardo AI (recommended for dataset)
https://leonardo.ai
2) Image preparation app (IMPORTANT)
✅ Best option (simple + free)
👉 Photopea (online Photoshop)
https://www.photopea.com
Why:
- works in browser
- batch resize possible
- no installation
- perfect for dataset prep
Alternative (if you prefer):
- Canva
- Photoshop
- GIMP
But in this guide I use Photopea.
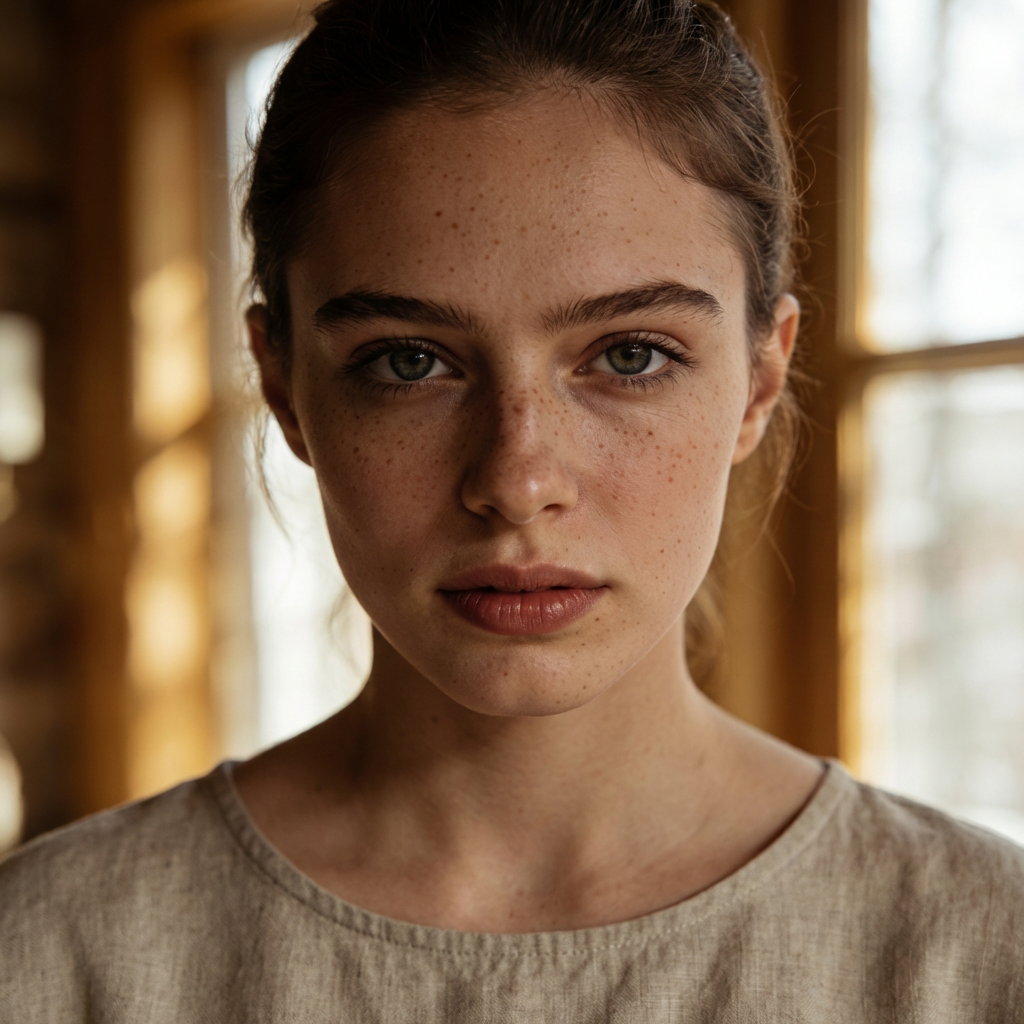
✅ STEP 1 — CREATE BASE FACE (1 IMAGE)
PROMPT (copy-paste)
ultra realistic portrait of a young woman, 24 years old, european facial features, symmetrical face, natural skin texture, subtle freckles, neutral expression, minimal makeup, soft natural window light, 85mm lens, shallow depth of field, cinematic color grading, realistic skin pores, professional photography, high detail --ar 2:3 --stylize 30
What you do:
- Generate 10–20 images
- Choose ONE face you like
- Save it → this is your AI character
⚠️ Rule:
You NEVER change this face later.
✅ STEP 2 — GENERATE FULL DATASET (60–100 IMAGES)
Now we create the same person in different situations.
CORE DATASET PROMPT (identity lock)
same person, same facial identity, identical face structure, realistic skin texture, professional photography
You always ADD this to prompts.
🧩 DATASET STRUCTURE (COPY THIS)
You must generate images in 6 categories.
1️⃣ BASIC PORTRAITS (20 images)
PROMPTS
A. Front view
same person, front view portrait, neutral expression, soft natural light, realistic skin texture, professional photography
B. 3/4 angle
same person, 3/4 angle portrait, natural expression, soft window light, realistic skin pores
C. Profile view
same person, side profile portrait, natural lighting, realistic skin texture
D. Slight smile
same person, slight natural smile, realistic skin texture, soft lighting
2️⃣ LIGHTING VARIATIONS (15–20 images)
Window light
same person, soft window light from left, realistic shadows, professional portrait
Studio light
same person, soft studio lighting, beauty portrait, realistic skin texture
Outdoor light
same person, outdoor natural daylight, realistic skin tones
Cinematic light
same person, cinematic lighting, soft shadows, film color grading
3️⃣ CAMERA & LENS VARIATIONS (10–15 images)
85mm portrait
same person, 85mm lens look, shallow depth of field, professional photography
50mm portrait
same person, 50mm lens, natural perspective, realistic portrait
Close-up
same person, close-up portrait, detailed skin texture, realistic pores
4️⃣ CLOTHING VARIATIONS (10–15 images)
Minimalist outfit
same person, full-length, minimalist outfit, neutral colors, professional portrait
Casual style
same person, full-length, casual clothing, natural style, realistic portrait
Business style
same person, full-length, business outfit, corporate style, professional photography
5️⃣ BACKGROUND VARIATIONS (10–15 images)
Neutral background
same person, full-length, clean neutral background, studio portrait
Lifestyle background
same person, full-length, lifestyle background, blurred environment, natural light
Urban background
same person, full-length, modern city background, realistic lighting
6️⃣ HIGH-QUALITY PORTRAITS (10 images)
These will be your “gold images”.
same person, ultra realistic portrait, editorial photography, soft natural light, cinematic color grading, realistic skin pores, professional fashion portrait
✅ RESULT OF STEP 2
You must have:
- minimum: 40 images
- ideal: 60–100 images
All with the SAME FACE.
✅ STEP 3 — PREPARE IMAGES (IMPORTANT!)
Tool: Photopea
What you do with each image:
1) Crop face correctly
Face must be centered.
2) Resize
Choose one size:
✅ 512 × 512 (recommended)
or
✅ 768 × 768 (better quality)
Photopea:
Image → Image Size → set 512×512 → Save as JPG.
3) Remove bad images
DELETE images with:
- distorted face
- weird eyes
- unnatural skin
- strong filters
- extreme makeup
Dataset quality = model quality.
✅ STEP 4 — DATASET STRUCTURE (READY FOR TRAINING)
Create folder on your computer:
AI_MODEL_DATASET
│
├── 01_portraits
├── 02_lighting
├── 03_camera
├── 04_clothing
├── 05_background
├── 06_premium
Put images inside.
🧠 IMPORTANT SECRET (WHY MOST FAIL)
Most people generate random images.
You did something else:
✔ same identity
✔ controlled variations
✔ realistic lighting
✔ clean dataset
This is EXACTLY what LoRA needs.
Сontinuation of this article in PART 2 — https://aiworkflowtips.com/create-a-realistic-ai-model-part-2-train-your-ai-face-in-leonardo-ai/