In Part 1, you created a stable AI face and prepared a high-quality dataset with consistent identity and controlled variations.
👉 If you haven’t completed Part 1 yet, read it here:
Now it’s time to teach AI to remember this face.
In this guide, you will train a LoRA model in Leonardo AI.
Everything is explained step-by-step, using the real Leonardo interface, so even beginners can follow without confusion.
What Is LoRA and Why You Need It
LoRA (Low-Rank Adaptation) is a lightweight AI model that learns a specific identity.
Instead of generating random faces, AI will reproduce the same person in different scenes, styles, and situations.
After this step, your AI character will have a stable identity.
Before You Start (Checklist)
Make sure your dataset meets these requirements:
- 40–100 images of the same person
- mostly portraits (face clearly visible)
- square images (512×512 or 768×768)
- JPG format
- no heavy filters or extreme makeup
If your dataset does not meet these conditions, fix it before training.
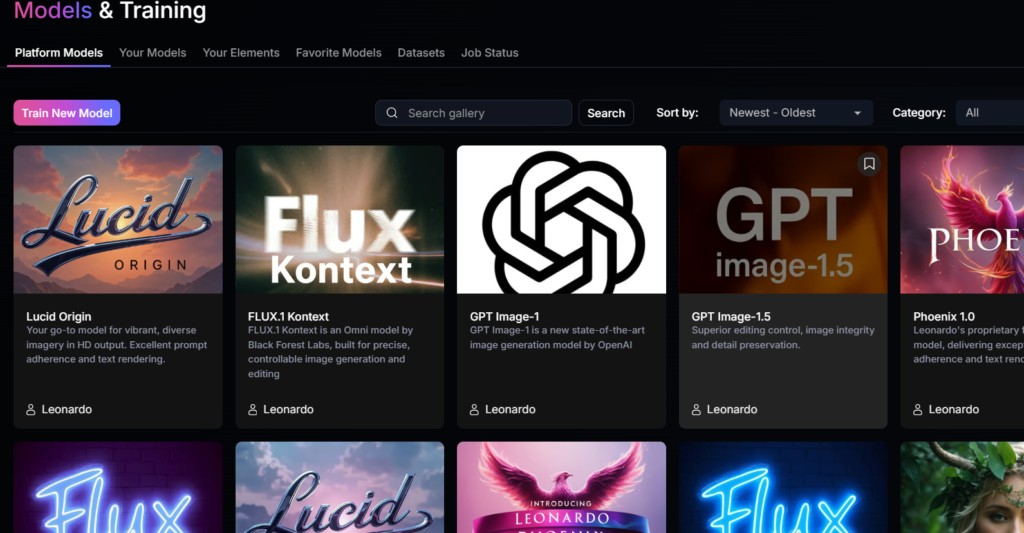
Step 1 — Open Model Training in Leonardo AI
- Log in to Leonardo AI.
- Go to Models & Training.
- Click Train New Model.
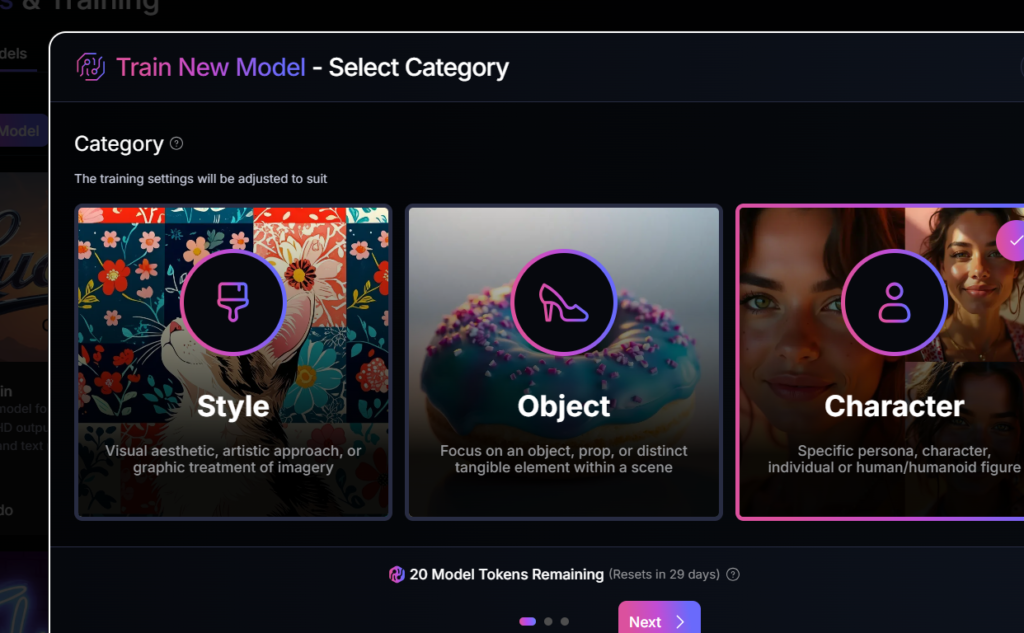
Step 2 — Select Training Category
You will see three options:
- Style
- Object
- Character
Select:
✅ Character
This option is designed for training human faces and identities.
Click Next.
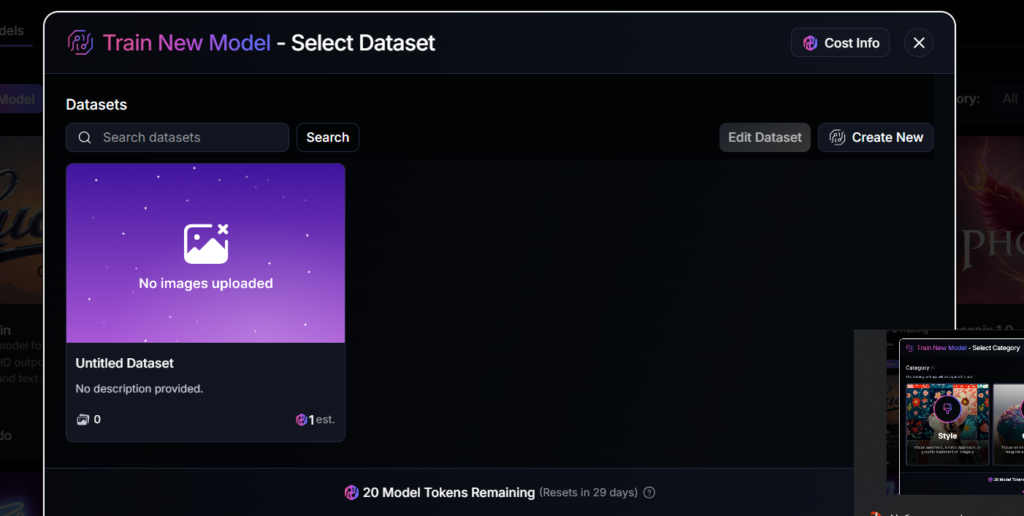
Step 3 — Create and Select a Dataset
On the dataset screen, click:
👉 Create New
Then:
- Upload your images (40–100 photos).
- After upload, the dataset is created automatically.
- Click on your dataset in the list.
- Click Next.
⚠️ Note: Leonardo automatically saves the dataset after upload. There is no separate “Save Dataset” button.
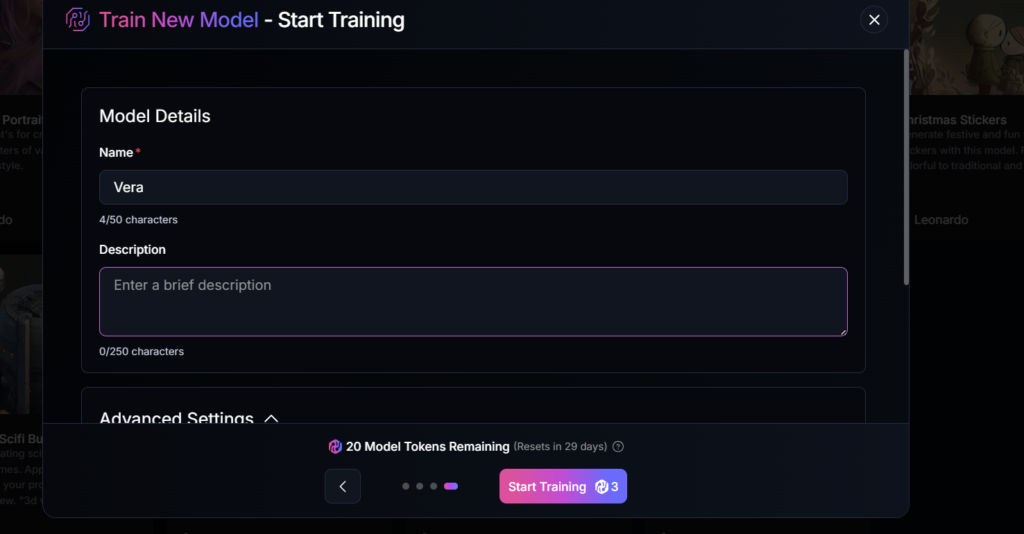
Step 4 — Model Details
You will see the model information form.
Model Name
Use a unique name. Avoid common names like “Anna” or “Girl”.
Recommended format:
vxvera
A unique name helps AI associate the identity with your model.
Description
Optional. Example:
AI character face model
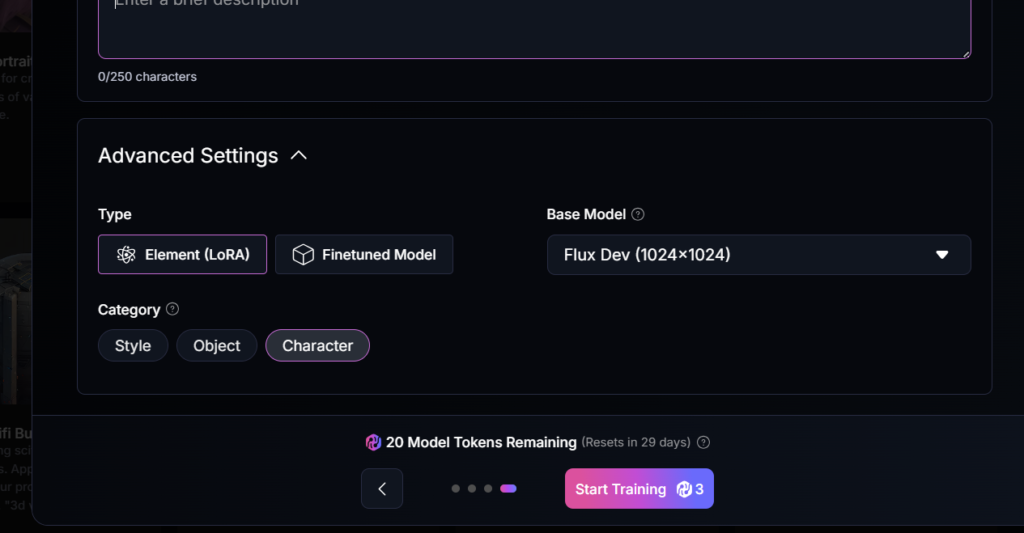
Step 5 — Advanced Settings (Key Configuration)
Open Advanced Settings.
Type
Select:
✅ Element (LoRA)
Do not select “Finetuned Model”.
Category
Select:
✅ Character
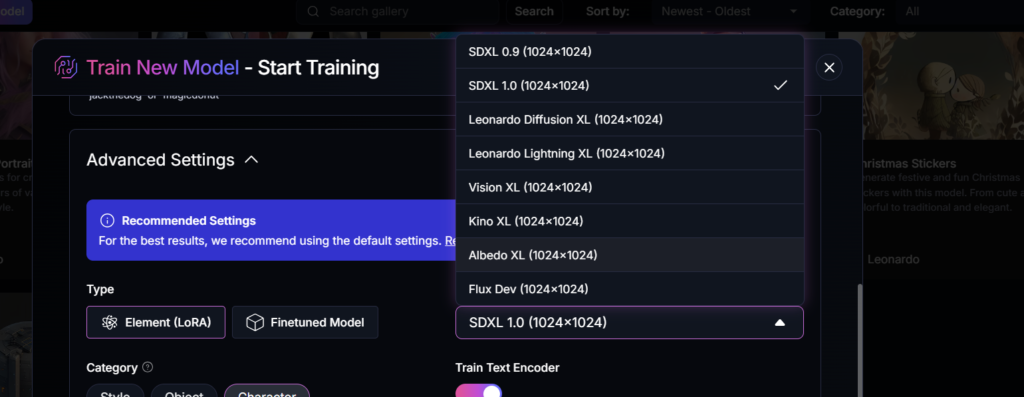
Base Model
Open the Base Model list and select:
✅ SDXL 1.0 (1024×1024)
Do not use Flux or highly stylized models, because they reduce identity stability.
Important Note About Training Settings
In the current Leonardo interface, advanced parameters such as:
- steps
- epochs
- learning rate
- batch size
are configured automatically by the platform.
You do not need to set them manually.
This makes Leonardo suitable for beginners.
Step 6 — Start Training
Click:
👉 Start Training
Training usually takes 10–30 minutes, depending on dataset size.
After training is complete, your LoRA model will appear in your models list.
Step 7 — Test Your AI Face
Understand Leonardo AI Model Types (CRITICAL)
Before using your AI face, you must understand one important fact:
Leonardo has TWO different image engines:
1) GPT Image / Flux / Vision (NEW ENGINE)
- modern image generator
- high quality images
- ❌ does NOT support LoRA / Elements
- ❌ your trained AI face will NOT work here
2) Classic / Legacy Engine (SDXL-based)
- older generation system
- ✅ supports LoRA / Elements
- ✅ your AI character works here
👉 If you use GPT Image mode, your AI model will be ignored.
This is the main reason why many users think their AI model is broken.
STEP 8 — Switch to the Correct Mode
What you must do:
- Open Leonardo AI
- Find the toggle in the top-right corner: 👉 Legacy Mode
- Turn ON Legacy Mode
After that, you will access the Classic image generation workflow.
STEP 9 — Open Classic Image Generation
Go to:
Leonardo AI → AI Creation → Image (Classic Mode)
Now you are in the environment where your AI model can work.
STEP 10 — Activate Your AI Model (Element)
In Classic mode, find the button:
👉 Add Elements
Click it.
You will see your AI model name, for example:
vxvera
Click it to activate.
After activation, your model appears below the prompt with a weight slider.
STEP 11 — Set Correct Parameters
Recommended settings:
Base Model:
- SDXL 1.0 (if available in Classic mode)
Element Weight:
- 1.3 – 1.6 (best start: 1.4)
Image Ratio:
- 1:1 (for testing)
- 3:4 or 2:3 (for Instagram portraits)
Quality:
- High
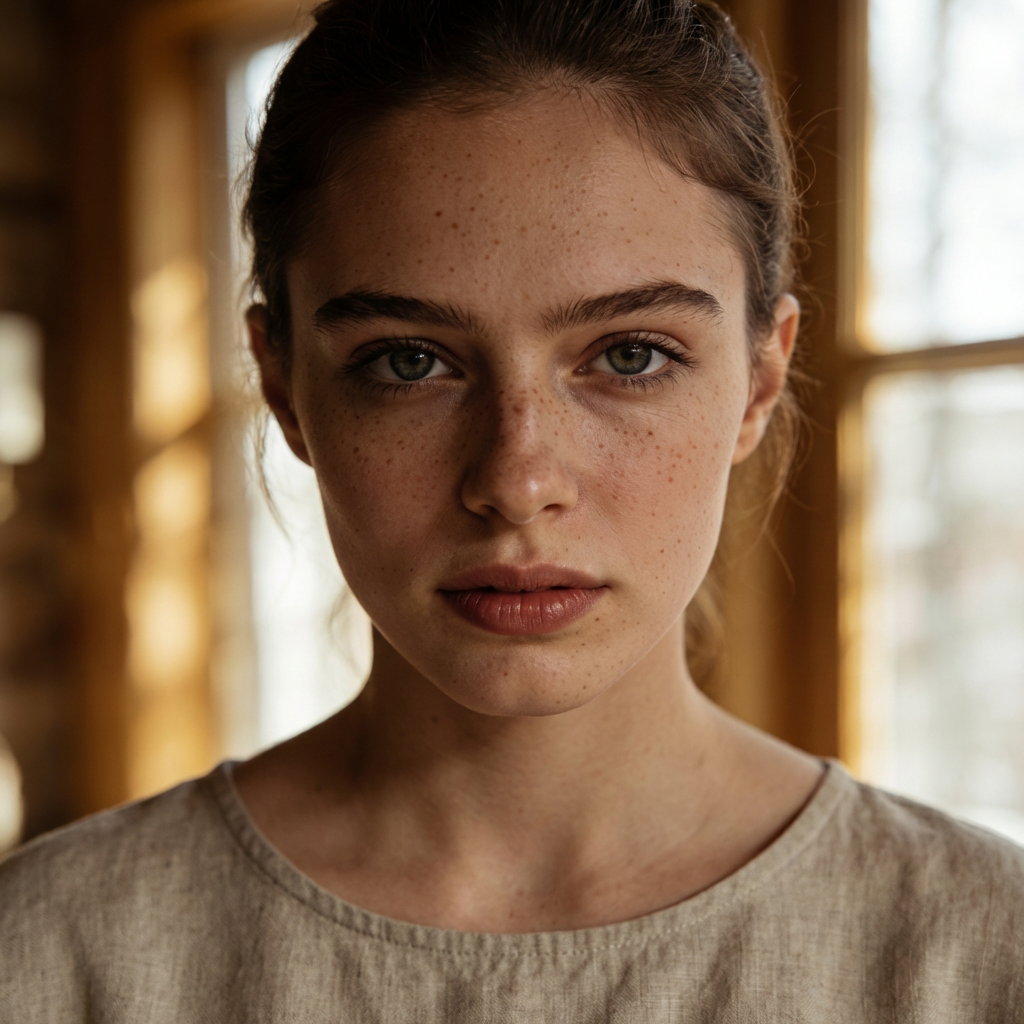
STEP 12 — Test Your AI Face (REAL PROMPT)
Use this prompt:
realistic portrait of a young woman, close-up, neutral expression, soft natural light, simple background, professional photography, natural skin texture
Negative prompt (optional):
anime, cartoon, doll, plastic skin, distorted face, unrealistic features, low quality
STEP 13 — How to Know If Your Model Works
If your AI model is correctly activated, you will see:
- similar facial features across images
- consistent eye shape and nose structure
- recognizable identity
If the face changes in every image, it means:
- the model is not activated
- or the training dataset was not optimal
- or you are using the wrong engine (GPT Image instead of Classic)
Real Advantages of Leonardo AI Face Models
✅ Pros
- No need to upload a reference photo every time
- Faster content generation
- Ability to reuse the same character in multiple scenes
- Good entry point into AI character creation
Real Limitations (No Marketing Lies)
❌ Cons
- Leonardo AI models are NOT full AI identities
They depend on the base engine. - Facial consistency is limited
Especially in full-body and complex scenes. - LoRA works only in Classic mode
Not in GPT Image mode. - Leonardo models are weaker than professional SDXL pipelines
(RunPod, ComfyUI, Higgsfield).
Result
After completing this guide, you have:
- a working AI character in Leonardo
- understanding of how Leonardo models actually function
- realistic expectations of results
This is the technical foundation for building an AI Instagram model.
What’s Next — Part 3
In Part 3, you will learn how to:
- generate Instagram-style images with your AI character
- choose the best aspect ratios (1:1, 3:4, 9:16)
- use different AI engines for different content types (Leonardo, Flux, GPT Image, Higgsfield)
- build a consistent AI persona
- create an AI content system instead of random images
- avoid the “fake AI look”
- prepare your AI model for social media growth
👉 Part 3:
Build an AI Instagram Model and Content System