
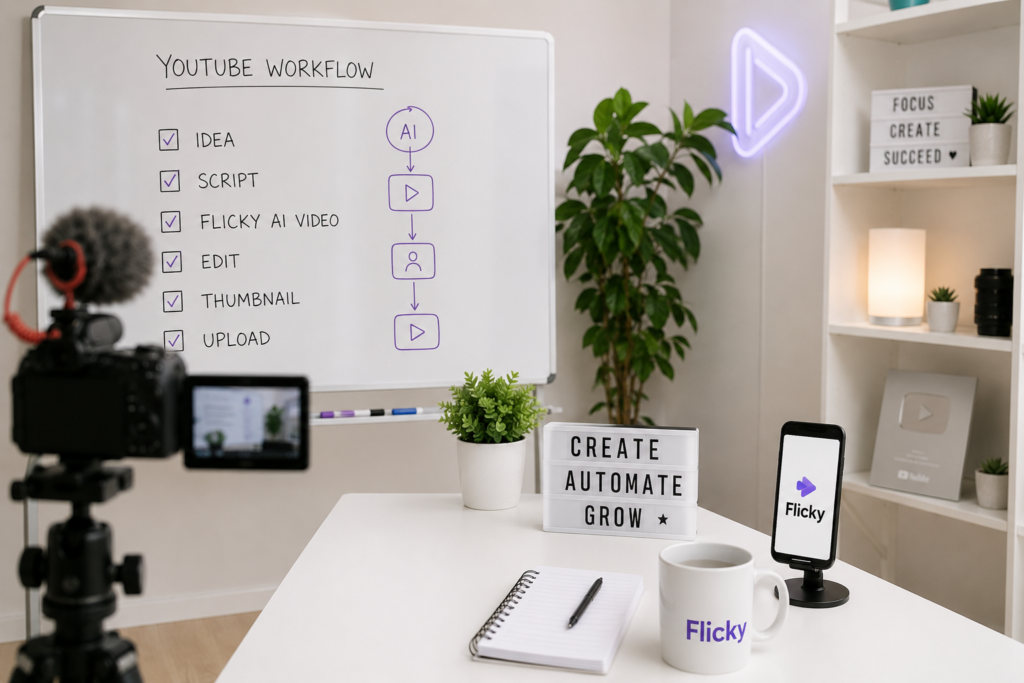
Using Flicky looks simple on the surface.
You paste a script, click generate, and get a video.
But this is exactly where most creators fail.
The raw output is rarely good enough for YouTube. Videos often feel generic, poorly paced, or visually repetitive. That’s why many people try AI tools once, get bad results, and quit.
The difference between a bad AI video and a good one is not the tool — it’s the workflow.
In this guide, you’ll learn how to actually use Flicky properly, step by step, so your videos are watchable, scalable, and suitable for YouTube growth.
What You Need Before Using Flicky
Before opening Flicky, you need one critical thing: a usable script.
Flicky does not “create good content.” It converts your input into video. If your script is weak, the final video will also be weak.
A good script should be:
- clear and structured
- written in short sentences
- easy to narrate
- focused on one idea per line
If you skip this step, everything that follows will suffer.
Step-by-Step: How to Use Flicky
Step 1: Create or Import Your Script
Start by either:
- writing your script manually
- or generating it with AI (like ChatGPT)
Once you have the script, paste it into Flicky.
At this stage, avoid long paragraphs. Flicky works better when text is broken into short sections because it uses those sections to build scenes.
Step 2: Let Flicky Generate the First Draft
After adding your script, Flicky will automatically:
- split text into scenes
- assign visuals
- generate voiceover
- create subtitles
This first version is just a draft.
Do not treat it as a finished video. Think of it as a rough structure that needs refinement.
Step 3: Review and Fix Scene Matching
This is one of the most important steps.
AI often selects visuals that don’t perfectly match your message. If you leave it as-is, the video will feel random or low quality.
Go through each scene and check:
- does the visual match the script?
- is it relevant?
- does it repeat too often?
If something feels off, replace it manually.
Step 4: Adjust Voiceover and Timing
Even though Flicky generates voice automatically, it often needs adjustment.
Pay attention to:
- pacing
- pauses
- sentence flow
If the voice sounds rushed or unnatural, you may need to:
- shorten sentences
- split lines
- rephrase parts of the script
For higher quality, some creators replace Flicky voice with tools like ElevenLabs.
Step 5: Customize Subtitles
Subtitles are not just decoration — they directly impact retention.
Instead of leaving default captions, adjust:
- font size
- timing
- placement
Well-designed subtitles:
- make content easier to follow
- keep viewers engaged
- improve performance on mobile
Step 6: Export and Edit the Video
This is the step most beginners skip — and it’s a mistake.
After exporting from Flicky, open the video in an editor like CapCut.
At this stage, focus on:
- Cutting unnecessary pauses
- Improving pacing
- Adding small visual variations
- Fixing awkward transitions
These small changes can significantly improve viewer retention.
Recommended Workflow (Simple Version)
If you want a clear system, use this:
- Write script (or generate with AI)
- Create draft in Flicky
- Fix visuals and scenes
- Adjust voice and subtitles
- Edit final video in CapCut
- Upload and test
This workflow balances speed and quality.
Common Mistakes to Avoid
Most problems come from misuse, not the tool itself.
Here are the biggest mistakes:
- Using raw AI output without editing
This leads to generic, low-retention videos. - Writing long, complex scripts
AI voice struggles with long sentences. - Ignoring visuals
Bad scene matching makes videos confusing. - Over-automation
More videos ≠ better results if quality is low.
Tips to Get Better Results
If you want your videos to perform better, focus on these improvements:
- keep sentences short and clear
- manually review every scene
- add small edits after export
- test different formats
Most creators don’t do this — which is why even small improvements can give you an advantage.
Final Thoughts
Flicky is not a magic solution.
It is a tool that helps you move faster.
Used correctly, it allows you to:
- produce more content
- test ideas quickly
- build faceless YouTube channels
Used incorrectly, it produces:
- repetitive videos
- low engagement
- poor results
The difference comes down to how much effort you put into refining the output.
Affiliate Disclosure
Some links in this article are affiliate links. This means we may earn a commission if you choose to use them, at no extra cost to you.
We only recommend tools that are commonly used in real workflows.